September 2026
Cat yoga
A wooden cat that stretches with you when you’re sleepy.
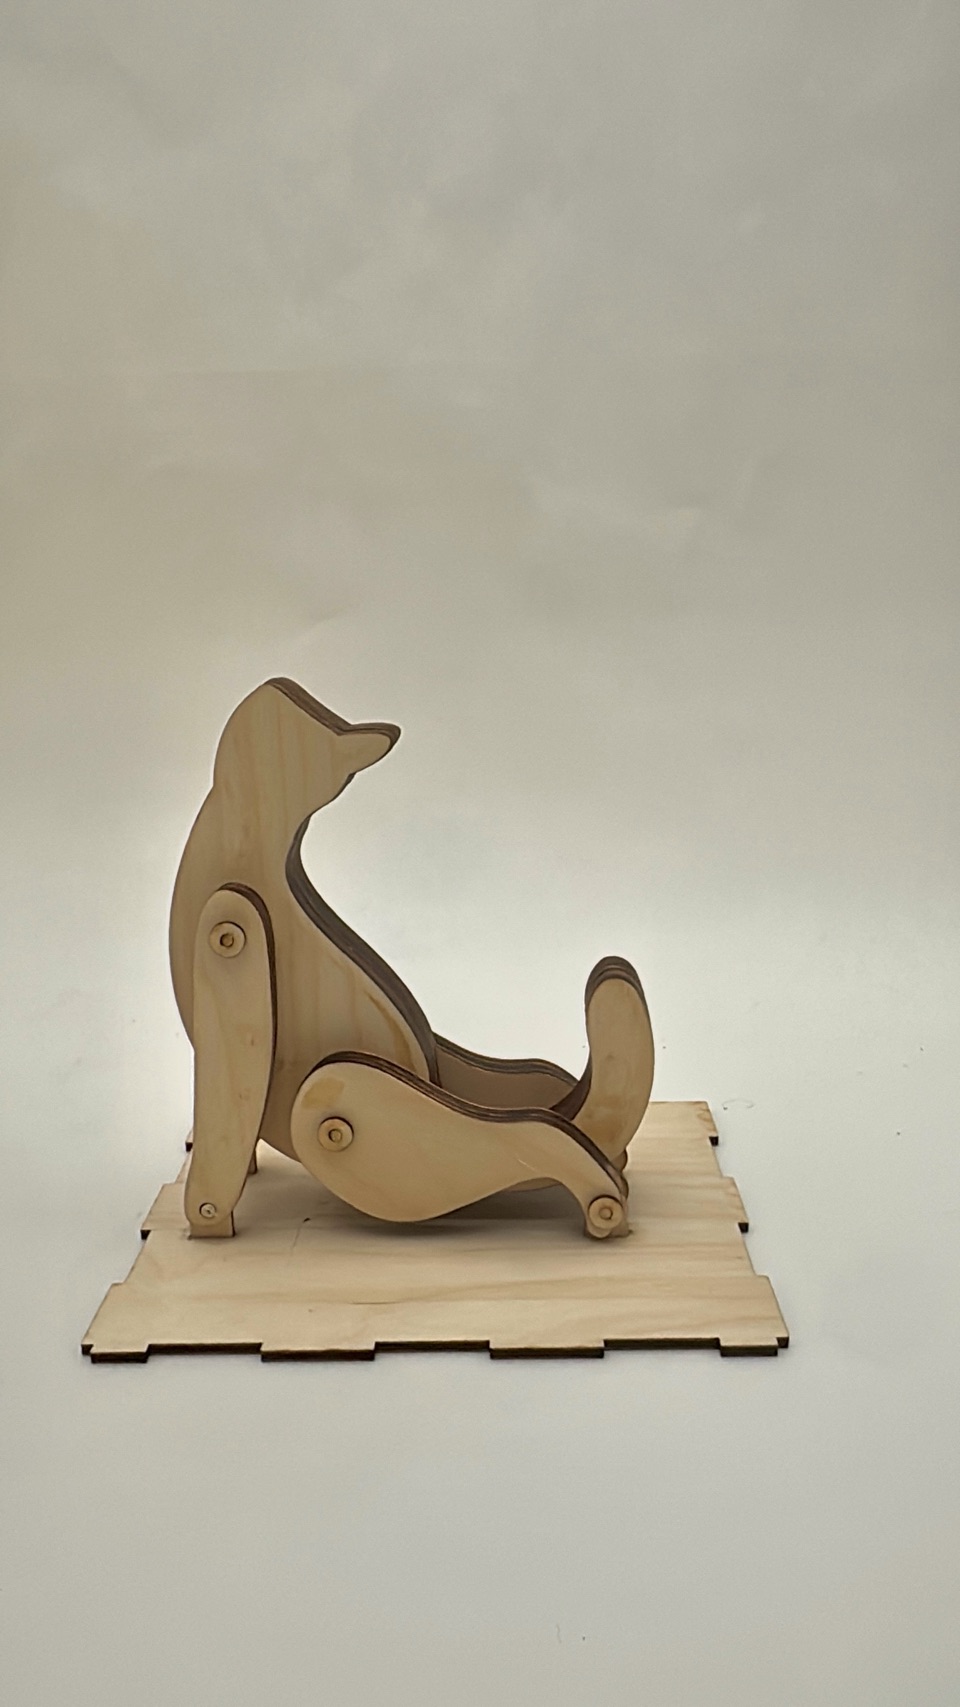
An automaton from my physical computing course, built on a cam: turn a shaft, and an off-center wheel pushes a follower up and down. This one taught me how a cam moves, and how much the gearing and the motor decide whether it moves well.
Overview
A cat that stretches when you’re sleepy.
The interaction is simple. When the cat senses that you’re sleepy (a yawn behind your hand, or your cheek resting on both hands), it stretches with you. A webcam watches for the two trigger poses, and a servo turns the cam that lowers the cat into a stretch and lifts it back up.
My reference was a hand-cranked stretching cat automaton ↗ I’d always wanted to make. It has no gears at all: the crank turns the shaft, an off-center cam pushes the follower, and a pushrod carries the motion to the cat’s belly. The legs hang loose on pivot pins, so they swing on their own as the body rises and falls. My job was to replace the hand with a motor and a trigger.

Servo, gears, camshaft.
My first plan put the servo’s gear right on the camshaft, beside the cam. When I talked it through with Cody, he pointed out that this would put the most force on the gear and wear it out. Instead, he suggested a small servo gear driving a larger gear on the camshaft, so the servo pushes from far out on the shaft’s radius, where it needs the least effort.
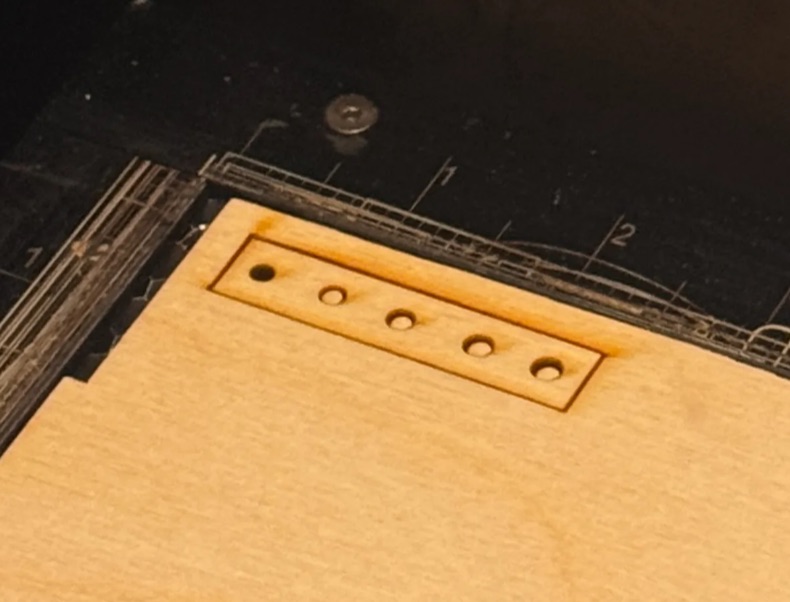
Then came a lot of fit testing. I measured the ridge on the servo horn so the small gear would sit flush without sanding, and cut a row of test holes in a scrap corner to find the diameter that held the dowel snugly but still let it spin. I even re-printed the camshaft gear slightly smaller so it would hold without glue.


Designing the cat.
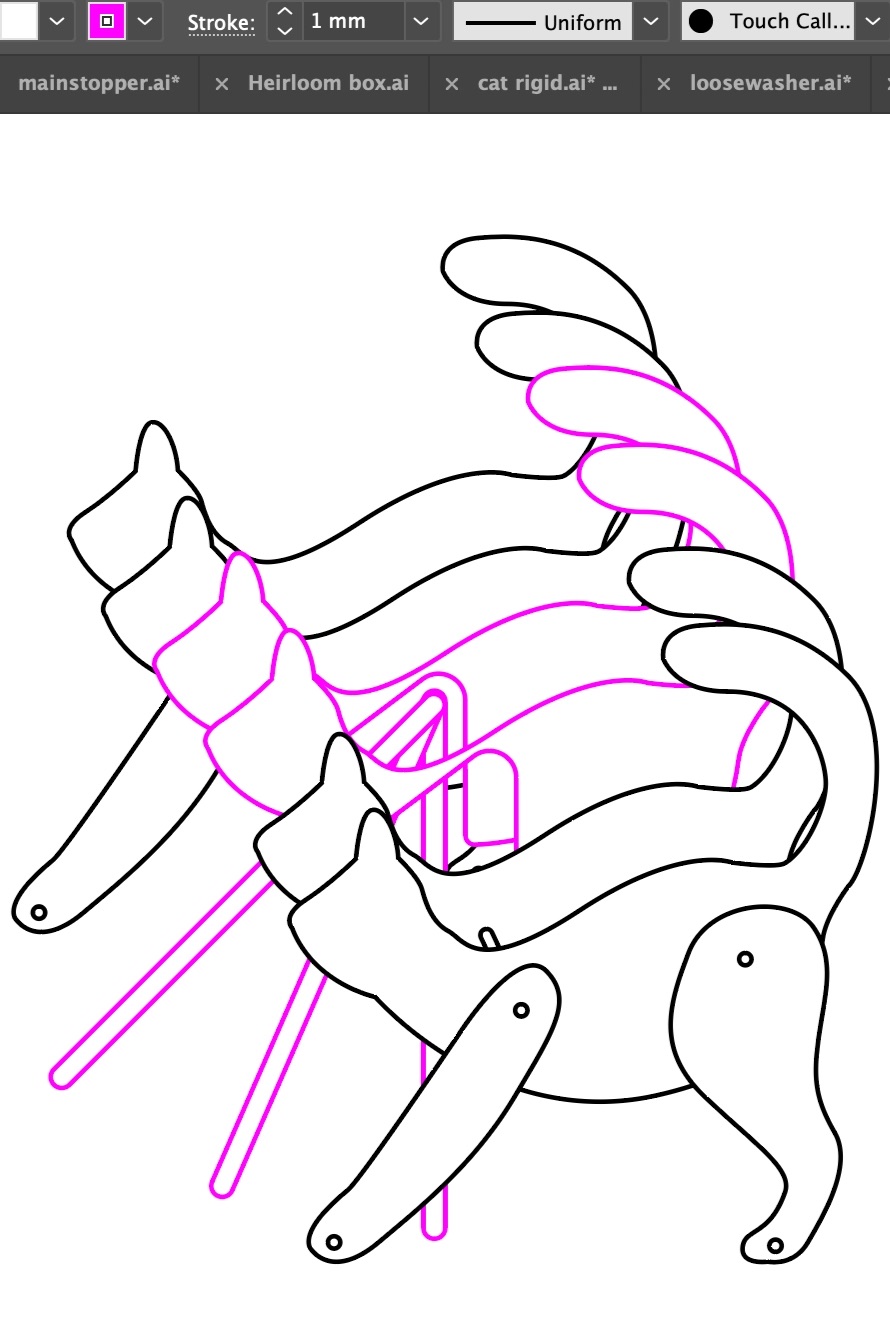
Watching my reference closely, I noticed the pushrod seemed to sweep past the front legs’ pivot as the cat moved. I was confused until I overlaid the standing and stretching poses, aligned to the body. The whole motion turned out to be a simple turn about one point.
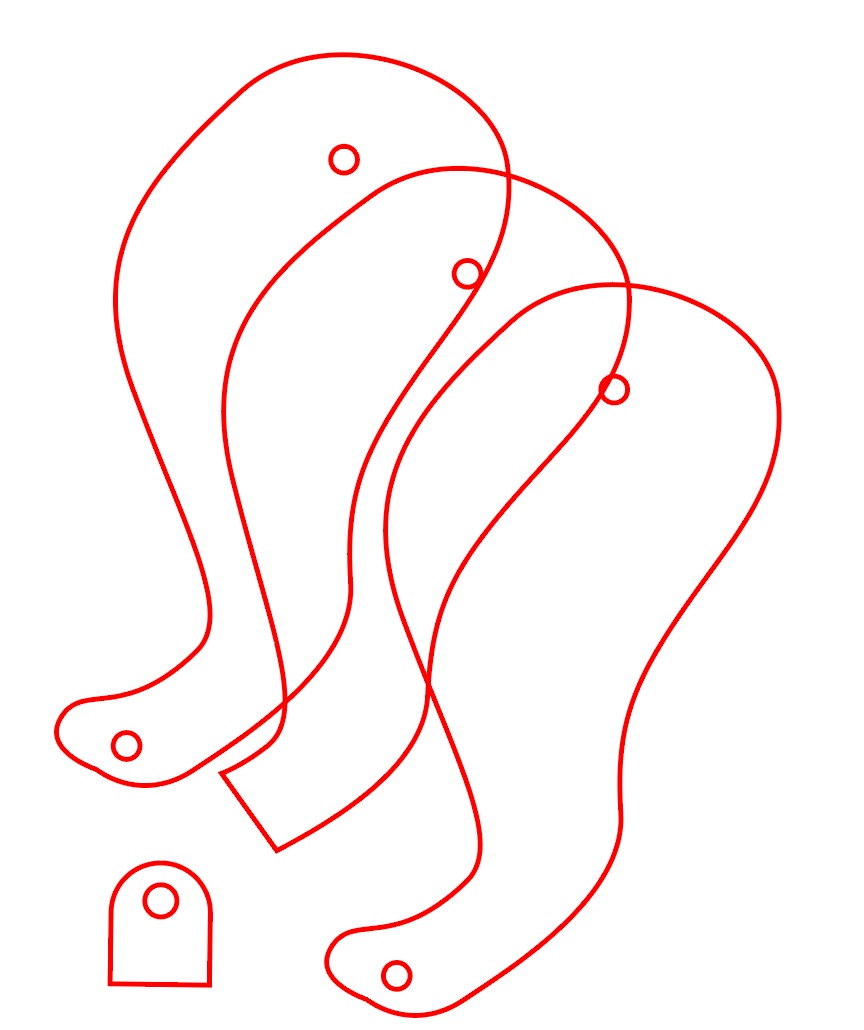
That gave me the cat’s structure. Two outer layers on each side hold the front legs, and the middle layers have a cut-out pivot zone for the pushrod to move through freely. The back legs’ pivot rod runs through all six layers for stability. The body is glued tight, and the limbs rest loosely on their rods so they can swing.
For the cam, I measured how far the pushrod needed to sit from the shaft at the lowest point (the stretch) and the highest (standing), and drew an egg-shaped cam between those two heights. It worked the first time.



The crit-day problem, and the piezo fix.
Once everything was assembled, I timed the stretches: anywhere from 3.0 to 3.3 seconds from standing, to full stretch, and back. So I couldn’t just run the servo for 3.2 seconds per yawn. After two or three yawns, the cat started and stopped in seemingly random places, and the interaction stopped making sense.
The cause was the servo I’d picked. A continuous servo can’t stop at a set position, and too much varied from turn to turn to time it: friction at the cam, the guide hole and the cat’s belly, tension on the gears, the lurch of the motor starting and stopping, and a lopsided cam the follower sometimes slid down and sometimes perched on.
So I gave the cat a sense of touch. A trigger stick that turns with the mechanism brushes a piezo sensor once per turn, and the code stops the motor when it feels that tap. The piezo was so sensitive it would stop the stretch as soon as the stick began dragging past, so the code ignores it for one second after each yawn. I taped the piezo loosely to the wall on purpose, so the two parts could sway against each other instead of jamming.


Learnings
What did I learn?
- 01
Choose the motor for control, not flexibility.
I picked a continuous servo for the cat so I’d have options. A 180° servo that stops where you tell it would have been the better choice. Next time, I’d design the gearing around a positional servo. Still, I’m proud the piezo got me past it.
- 02
Test one motion at a time.
I tested at every stage of assembly, and movement was always easiest to understand when I isolated it: just the follower, then just the legs, then everything together.
- 03
Prototype the fit before the part.
Scrap test holes, tolerance strips and a cardboard box saved me many recuts. The one time I skipped a check, designing for 4.5 mm material and cutting 3 mm plywood, I paid for it in loose joints.
- 04
Design for where it will live.
Next time, I’d give the cat what the kite got: a clear acrylic wall would protect the mechanism and still show it off.
How I used AI. I talked through my ideas with Cody rather than AI, and designed every part myself in Illustrator, with the gear and box generators he recommended. Claude helped me figure out which parts to buy and planned the kite’s wall-power circuit, and Copilot wrote most of the cat’s interaction code. That let me spend my time on the mechanisms.